
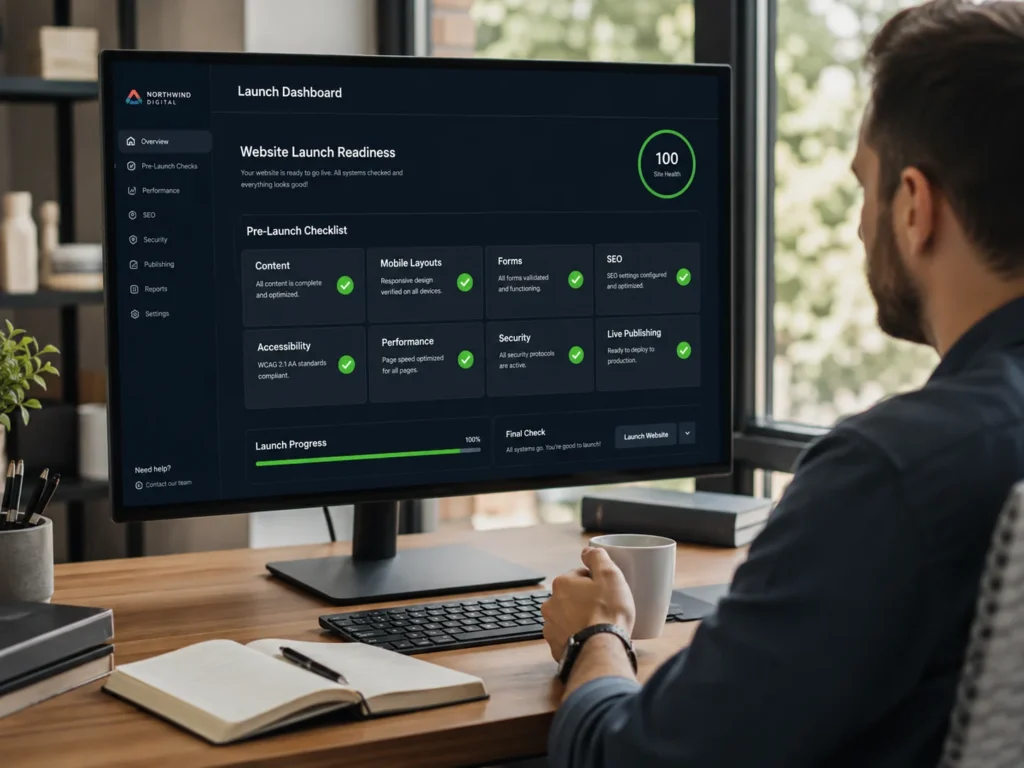
Publishing a website update should never be treated as the final step immediately after editing. A small change to text, navigation, a form, a plugin, a CMS field, or a code component can affect other pages and devices in unexpected ways.
A website pre publish checklist gives you a repeatable process for checking the update before customers see it. It helps you confirm that the content is accurate, layouts remain responsive, forms still deliver submissions, links point to the correct pages, tracking is active, and search settings have not been changed accidentally.
This guide covers the checks to complete before publishing, the order in which to test them, and the final verification required after the update reaches the live website.
Build a cleaner, stronger website with Xander Web Studio.
Get practical help with your website, from content updates and page improvements to SEO, design cleanup, technical fixes, and launch support.
Key Takeaways
- Test the update as a customer would use it. Review the full journey, including navigation, buttons, forms, confirmation messages, emails, bookings, payments, and follow-up automations.
- Check beyond the edited section. Shared templates, components, styles, plugins, CMS collections, and scripts can cause one change to affect several pages or devices.
- Verify the live website after publishing. A successful save, CMS publish, merge, or deployment confirms that a process completed, but it does not prove that the production website works correctly.
Businesses that need help reviewing updates can use professional website support for testing, content changes, responsive corrections, form troubleshooting, and post-publish verification.
What to Prepare Before the Pre-Publish Review
Testing becomes more reliable when the change is clearly defined before anyone begins clicking through the website. Without a defined scope, reviewers may focus on cosmetic details while missing the function or page that was actually changed.
Define the Exact Update Scope
Write down what was changed and where it appears. Include the page URLs, templates, components, CMS collections, plugins, scripts, integrations, or code files involved.
A useful scope might say:
- Updated loan amounts on the homepage and three service pages
- Replaced the contact form recipient address
- Added a new Resources navigation item
- Changed the mobile spacing for blog posts
- Updated a shared CTA component
- Replaced a homepage video
- Added a redirect from an old service URL
- Changed a Vercel environment variable
Also identify what should remain unchanged. If only a form recipient was updated, its design, fields, validation, and thank-you page should remain the same. For multi-system work, keep a short change log covering related redirects, tracking, integrations, and live-domain checks.
Confirm the Expected Result
A reviewer needs to know what success looks like.
For a visual update, provide the approved design, screenshot, or written instruction. For a functional change, describe the expected action from beginning to end.
For example:
- Clicking “Book a Consultation” should scroll to the consultation form
- Submitting the form should display a confirmation and notify the sales inbox
- Selecting the July course date should complete without a validation error
- The new service should appear under the Services dropdown on desktop and mobile
- The page should use one H1 and preserve the existing title style
- The old URL should redirect to the new service page
Clear acceptance criteria make completion easier to verify.
Create a Recovery Option
Before a high-risk update, confirm that you can restore the previous version.
The recovery method may be a hosting backup, CMS revision, Webflow backup, staging copy, Git commit, separate branch, previous deployment, database export, or saved template file.
WordPress recommends backing up files and the database before major updates. The official WordPress update guide should be reviewed before changing core software, themes, or plugins.
Confirm that the backup is recent, complete, accessible, and controlled by the business. For code-based work, commit the current production version before merging so there is a known rollback point.
Step-by-Step Website Pre-Publish Checklist
The following workflow can be adapted to WordPress, Webflow, Shopify, Wix, and custom-coded websites.
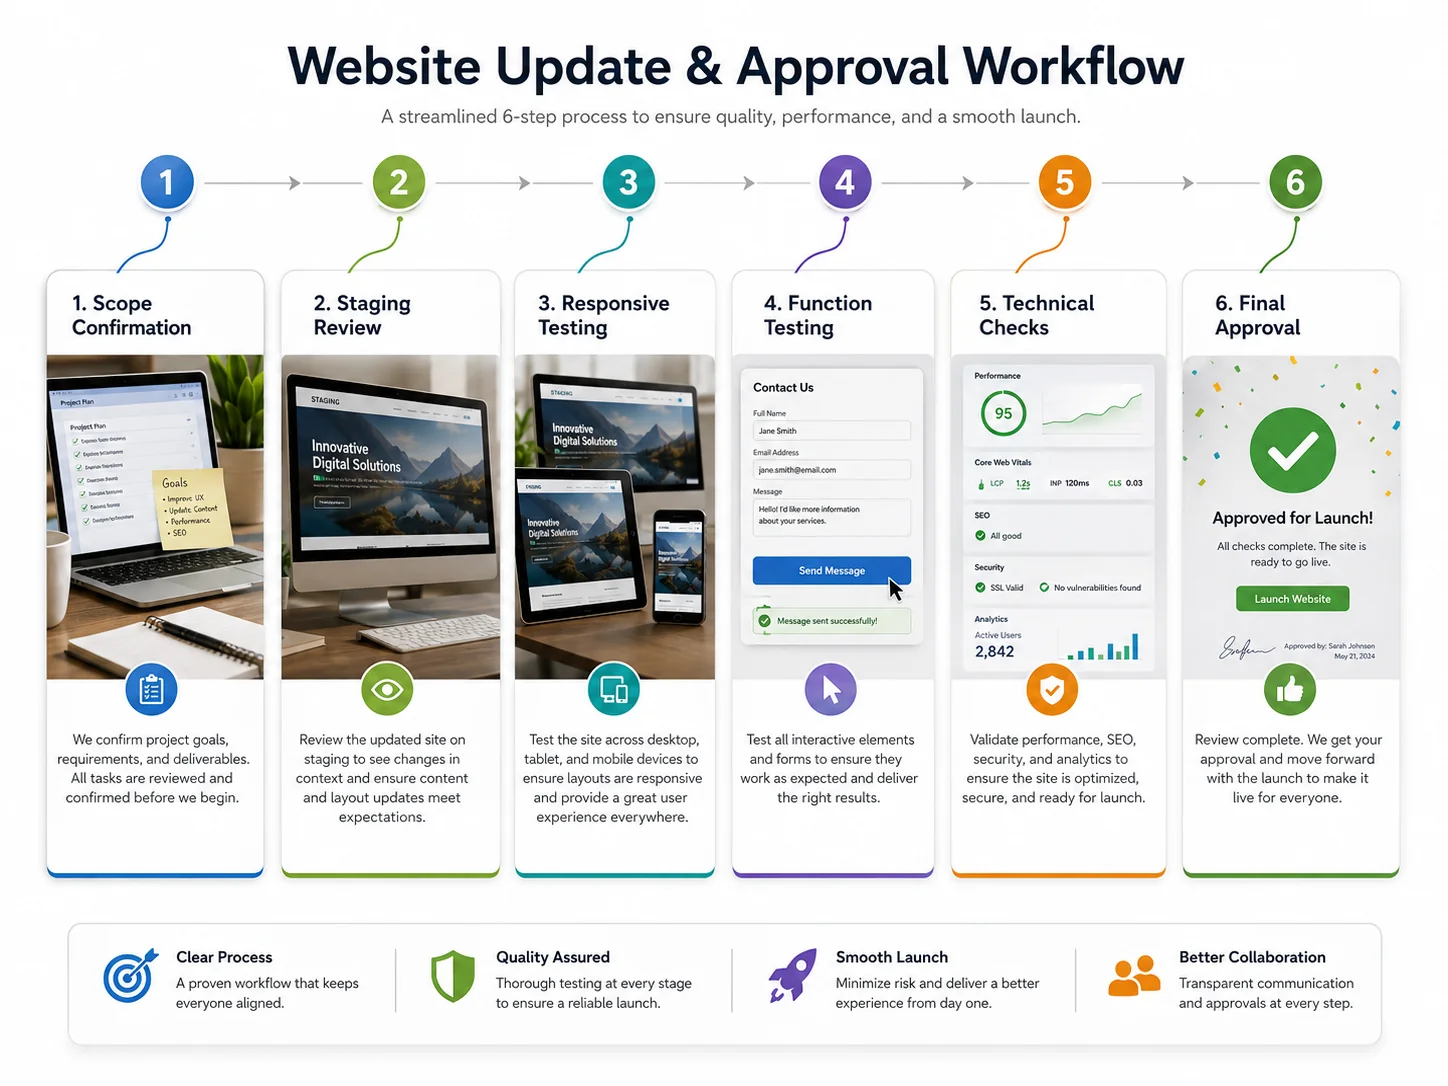
Step 1: Review the Update in Staging or Preview
Use a staging environment, preview deployment, draft page, or private preview when the platform supports it.
Staging lets you inspect changes without immediately affecting customers. Use it for new layouts, navigation, plugins, themes, forms, custom code, checkout, CMS templates, large revisions, and integrations.
Make sure staging resembles production closely enough for meaningful testing. Differences in CMS content, scripts, APIs, credentials, or environment variables can cause a preview to work while production fails.
Webflow allows a site to be published to a staging subdomain before the custom domain. Its official staging guide explains how to test design and custom code without publishing the changes to the live domain.
Vercel also separates Local, Preview, and Production environments. Its Vercel environments documentation explains how preview deployments are created and how environment-specific settings can differ.
Step 2: Compare the Update With the Request
Open the original task, approved copy, design, or client instructions beside the preview.
Check each requested item individually. A correct main change does not prove that every smaller requirement was completed.
For content requests, compare:
- Names
- Dates
- Prices
- Addresses
- Phone numbers
- Service descriptions
- Button labels
- Operating hours
- Legal wording
- Image selections
For design requests, compare:
- Font size
- Text alignment
- Section order
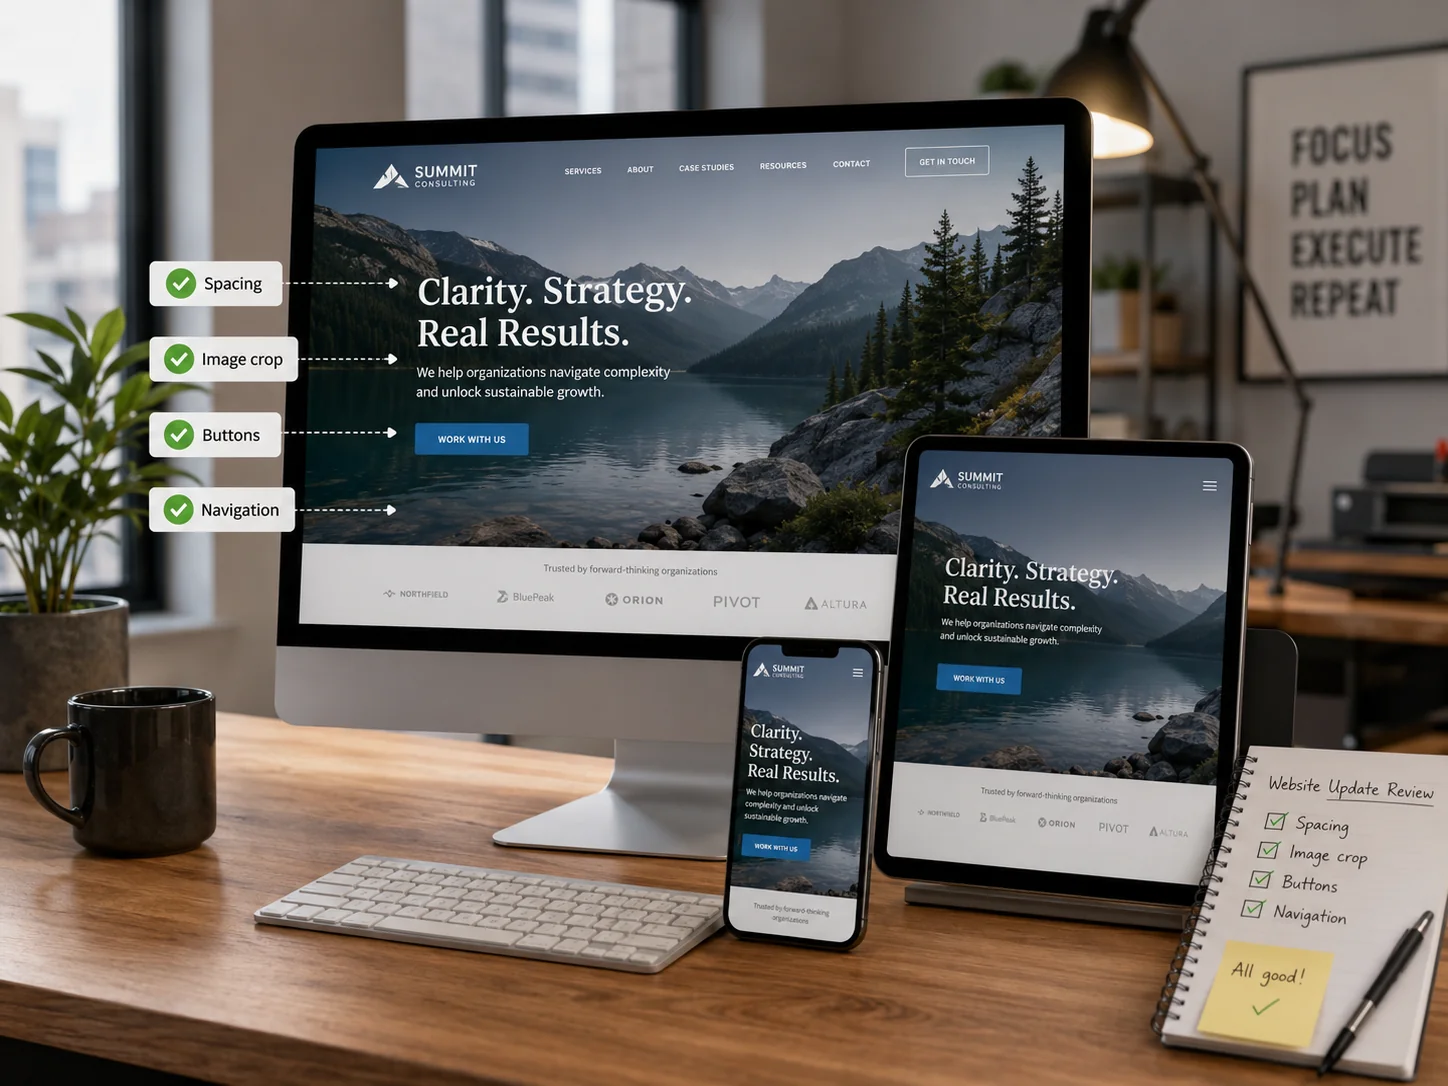
- Spacing
- Colors
- Image crop
- Button placement
- Mobile behavior
- Visibility rules
For technical requests, compare the actual outcome rather than the configuration alone. A form setting can look correct while the email still fails to arrive. A redirect can appear in the dashboard but produce the wrong destination.
Step 3: Test Every Responsive Breakpoint
Check desktop, tablet, and mobile layouts. Do not review only the screen size used while editing.
At minimum, inspect:
- Large desktop
- Standard laptop
- Tablet portrait
- Tablet landscape
- Mobile portrait
- Mobile landscape
Resize between common breakpoints because problems often appear between preset device sizes. Review headings, navigation, images, forms, tables, buttons, popups, sticky elements, and embeds for overflow, overlap, poor cropping, or incorrect visibility.
The mobile layout guide explains common responsive problems such as fixed widths, excessive spacing, unstacked columns, oversized media, and off-screen elements.
Real-device testing is still important. Browser simulation is useful, but it may not reproduce mobile Safari behavior, touch interaction, browser bars, the onscreen keyboard, or device-specific rendering.
Step 4: Complete the Customer Journey
Test the page as a visitor would use it rather than checking each element in isolation.
A typical lead-generation journey may be:
- Open a service page.
- Read the offer.
- Click the primary CTA.
- Complete the form.
- Submit valid information.
- See the confirmation message.
- Receive the expected email.
- Confirm that the business receives the lead.
- Confirm that the CRM or automation records the submission.
An ecommerce journey may include product selection, cart updates, discount codes, shipping, taxes, payment, order confirmation, inventory changes, and customer emails.
A booking journey may include service selection, date availability, time zone, appointment confirmation, calendar creation, reminders, and cancellation links.
Testing only the first click can miss a failure later in the journey.
Step 5: Check the Page Source and Technical Settings
Review the settings that visitors may not see directly.
Important checks include:
- Page status
- URL slug
- Canonical URL
- Robots settings
- SEO title
- Meta description
- Open Graph image
- Structured data
- Redirects
- Analytics scripts
- Form recipient settings
- Environment variables
- Domain selection
Confirm that the page is not accidentally set to draft, private, password-protected, or noindex when it is intended to be public.
Google’s robots meta guide explains how page-level robots directives affect indexing. Its canonical guidance describes ways to indicate a preferred URL when similar or duplicate versions exist.
Search the page source and CMS fields for staging domains in canonicals, buttons, images, forms, and structured data.
Step 6: Record Approval and Publish Deliberately
Before publishing, confirm who has approved the update and whether any open questions remain.
For internal work, approval may be a completed QA checklist. For client work, it may be a written confirmation that the preview matches the requested change.
Publish only the intended scope. Some platforms publish every saved change in a project, while others allow individual pages or CMS items to be published. Check whether unrelated work is waiting in staging.
Document the publish scope, selected environment, approval, timing, rollback option, and person responsible for production verification.
Publish high-risk work when someone can promptly test forms, payments, integrations, and production behavior.
Check Content and Visual Presentation
A technically successful update can still create a poor visitor experience when the copy, design, or branding is inconsistent.
Review Copy and Business Information
Read the updated page from beginning to end. Do not check only the sentence or field that was edited.
Review:
- Spelling and grammar
- Names and job titles
- Prices and loan amounts
- Dates and schedules
- Addresses
- Phone numbers
- Email addresses
- Operating hours
- Service areas
- Product details
- Policy wording
- Button labels
Confirm that repeated information is consistent across the header, footer, service pages, contact page, popups, forms, structured data, and downloadable documents.
A price change should not appear only in the main pricing table if the old price remains in a hero section or FAQ. A location change may require updates to the contact page, footer, map, schema, and appointment instructions.
For recurring content work, professional CMS update support can help maintain structured content without damaging templates or shared components.
Check Visual Consistency
Compare the update with the rest of the website.
Check:
- Heading sizes
- Font families
- Font weights
- Line height
- Button styling
- Border radius
- Colors
- Section spacing
- Card alignment
- Icon style
- Image treatment
- Content width
Look for inconsistent styling, duplicated headings, placeholder copy, default images, empty CMS fields, and editor-only labels.
Check shared elements carefully. A modification to a component, template, class, symbol, or global style may change other pages. Open at least a few pages that use the same structure.
Inspect Images and Media
Every image should be clear, relevant, appropriately sized, and correctly cropped.
Check:
- Resolution
- Aspect ratio
- File size
- Mobile crop
- Alt text
- Filename
- Focal point
- Lazy loading
- Caption accuracy
- Copyright or usage rights
Google’s image SEO guidance recommends descriptive filenames and alt text and placing images near relevant page content.
Avoid uploading a huge original image when it will display at a small size. The web.dev responsive image guidance explains how suitable image candidates can reduce unnecessary data transfer on smaller devices.
Test embedded videos, sliders, maps, and PDF viewers. Make sure they load, maintain the intended dimensions, and do not block the page on mobile.
Test Functionality and Conversions
Functionality testing should focus on actions that affect leads, customers, appointments, sales, downloads, or account access.
Check Links, Buttons, and Navigation
Click every updated or nearby link.
Review:
- Header navigation
- Mobile navigation
- Dropdown links
- Hero buttons
- Service cards
- Pricing buttons
- Phone links
- Email links
- Footer links
- Download links
- Social profiles
- Breadcrumbs
- Pagination
Confirm that the destination matches the anchor text and opens in the intended way. Internal links usually do not need a new tab. External documents or tools may use one when appropriate.
Google’s link best practices recommend crawlable links and meaningful anchor text that helps people and search engines understand the destination.
Short, descriptive anchors such as website fix service are clearer than “click here” or a long pasted URL.
Check the logo link, skip links, back buttons, close buttons, and sticky navigation. These elements are easy to overlook because they may not have changed visually.
Submit Every Important Form
Do not publish a form change without a real submission test.
Test:
- Required fields
- Optional fields
- Field formats
- Error messages
- Conditional logic
- Date selection
- File uploads
- Spam protection
- Submit button
- Confirmation message
- Thank-you page
- Notification email
- Customer email
- CRM entry
- Automation trigger
MDN’s form validation guide explains client-side validation behavior, but server-side processing, notifications, and integrations must also be tested.
Use a unique test name or email subject so the submission can be found easily. Confirm that the lead reaches the correct inbox rather than merely assuming it was sent.
For Webflow forms, the official form submissions guide recommends republishing after settings changes and submitting a test on the live site.
Test Bookings, Payments, and Integrations
Connected tools can fail without changing the visible website.
Test relevant systems such as:
- Booking calendars
- Payment processors
- Shopping carts
- Membership platforms
- CRM systems
- Email marketing
- Live chat
- Review widgets
- Maps
- Inventory systems
- Webhooks
- Analytics events
Confirm data in both directions when applicable. A form may create a CRM lead that triggers additional emails or automations.
Check that test payments use the correct environment. Do not confuse sandbox and live credentials. Verify currency, taxes, shipping, discounts, subscriptions, receipts, and failed-payment behavior.
Custom functionality may require web development support when the update involves APIs, scripts, databases, advanced forms, or third-party integrations.
Review SEO and Indexing Settings
An update can improve the page visually while creating search problems if metadata, internal links, canonicals, redirects, or indexing controls are changed incorrectly.
Check Titles, Headings, and Descriptions
Confirm that the page has:
- A clear SEO title
- A relevant meta description
- One main H1
- Logical H2 and H3 headings
- Useful body content
- Descriptive image alt text
- A readable URL
Google’s meta description guidance explains that a description can help summarize and interest users when Google uses it for a search snippet.
The title and description should match the actual page. Do not retain metadata from a duplicated page or template.
Review the visible browser title, CMS SEO fields, social title, and Open Graph description. Some platforms store these separately.
Professional SEO support services can help review page structure, metadata, indexing, internal linking, structured data, and search visibility.
Check Canonicals, Robots, and Redirects
Confirm that the canonical points to the preferred production URL.
Check for:
- Staging canonicals
- Old domain names
- Duplicate canonical tags
- Missing protocol
- Incorrect trailing slash
- Noindex directives
- Blocked resources
- Redirect chains
- Redirect loops
- 404 destinations
A page intended for search should not remain noindex after launch. Conversely, private confirmation pages, internal search results, or temporary campaign variants may require different handling.
When a URL changes, redirect the old URL to the closest relevant replacement. Do not send every removed page to the homepage.
Test redirects in a private window and confirm the final URL, status behavior, and page content.
Check Internal Links and Discovery
Review internal links pointing to and from the updated page.
Important pages should be reachable through navigation or contextual links. Google’s sitemap overview notes that proper linking helps Google discover important pages, while a sitemap can support discovery for larger or more complex sites.
Check:
- Main navigation
- Footer links
- Related service links
- Blog links
- Breadcrumbs
- Category pages
- XML sitemap
- HTML sitemap
Use natural, descriptive anchors. Avoid forcing the same keyword into every link.
A focused campaign page should also connect to a useful next action. A professional landing page service can help create a page with one audience, offer, and conversion goal rather than adding unrelated content to an existing page.
Test Performance and Accessibility
Performance and accessibility checks should be part of publishing, not tasks reserved only for a future redesign.
Review Loading and Stability
Open the page on desktop and mobile using a normal connection. Observe the experience before looking at a score.
Ask:
- Does the main content appear quickly?
- Does the page respond when a button is pressed?
- Does content jump while loading?
- Do images reserve enough space?
- Does an animation block interaction?
- Do third-party tools delay the page?
Google’s Core Web Vitals focus on loading performance, interaction responsiveness, and visual stability.
Use performance tools and compare the updated page with the previous version. A new image, video, script, font, or embed can cause a noticeable regression even when the overall score appears acceptable.
Check image dimensions, unused scripts, render-blocking resources, font loading, and large layout shifts. Avoid chasing a perfect score at the expense of useful functionality or visual quality.
Complete Basic Accessibility Checks
A quick accessibility review should cover keyboard navigation, visible focus, heading order, descriptive links, image alt text, form labels, error messages, contrast, zoom, captions, and button names.
W3C provides practical accessibility checks for a first review, while noting that quick checks do not replace a complete accessibility evaluation.
Navigate the page without a mouse. Confirm that menus, links, forms, popups, and controls can be reached and used.
Do not use color alone to communicate an error or status. Required fields should have clear labels, and buttons should explain their action.
Test across relevant browsers. MDN defines cross-browser testing as checking that a website works across the browsers and devices used by the target audience.
Check Security, Privacy, and Tracking
Website updates can affect access, data collection, cookies, and customer information. Confirm that only intended users can edit or publish, remove temporary accounts, and avoid shared administrator credentials.
Check forms and integrations for exposed API keys, private URLs, test credentials, internal notes, or sensitive data. Secrets should not be placed directly in front-end code or public repositories.
Review privacy and consent behavior when adding analytics, advertising pixels, chat tools, embedded media, or marketing forms. Make sure the privacy policy reflects the actual tools in use and that consent controls still work where required.
Confirm that the page loads over HTTPS and does not request insecure images, scripts, fonts, or forms. Mixed-content warnings can block resources and reduce visitor trust.
Tracking should also be tested. Verify page views, form events, phone clicks, downloads, bookings, purchases, and thank-you-page visits. A script can appear in the source without sending the expected event.
For a broader review of security, outdated software, backups, forms, and account access, use the website support checklist.
Platform-Specific Pre-Publish Checks
Every platform has a different publishing workflow. Use the general checklist above, then add the checks relevant to the system managing the website.
WordPress Checks
Before publishing a WordPress update, review:
- Page status and visibility
- Revision history
- Permalink
- Featured image
- Page template
- Plugin updates
- Theme updates
- Cache
- Form notifications
- Shortcodes
- Reusable blocks
- Header and footer templates
Preview the page before updating and check whether it is controlled by the Block Editor, a page builder, custom fields, or a theme template.
When changing plugins or themes, create a backup and test important functions afterward. The WordPress site maintenance guide recommends regular backups and ongoing maintenance.
Clear only the caches relevant to the update. Check the page in a private window, but do not assume every visibility problem is caused by caching.
Webflow Checks
Before publishing a Webflow update, review:
- Staging domain
- Selected publish domains
- Draft pages
- CMS item status
- Components
- Variables
- Breakpoints
- Custom code
- Redirects
- Form settings
- Collection references
- Search indexing settings
A change to a component can affect several pages. Review every important instance and breakpoint.
Check whether unrelated saved work will be included in the publish. Webflow’s current publishing workflow can separate staging review from production publishing, but teams still need to understand what is waiting in each environment.
Submit live forms after publication and verify the notification recipient and stored submission.
GitHub and Vercel Checks
Before promoting a code-based update, review:
- Pull request scope
- Changed files
- Build status
- Preview deployment
- Environment variables
- API connections
- Dependency changes
- Redirects and rewrites
- Analytics
- Error logs
- Production domain
- Rollback option
Test the preview deployment on desktop and mobile. Confirm that preview and production use the intended environment variables.
Vercel’s production checklist includes considerations for security, reliability, performance, observability, and deployment configuration.
After merging, open the live domain rather than relying only on the deployment status. A successful build does not prove that forms, APIs, CMS content, or external systems work correctly in production.
Professional deployment support can help with GitHub branches, preview deployments, Vercel builds, environment settings, and live verification.
Five Common Pre-Publish Mistakes
- Testing only the edited section. A change to a shared style, component, plugin, template, or script may affect pages that were not part of the original request. Review at least a representative sample of connected pages.
- Checking only desktop. A heading, image, menu item, table, or embedded form may work on a large screen and break on tablets or phones. Test real responsive behavior before publication.
- Assuming a form works because it looks correct. Submit the form, receive the notification, check the stored entry, and verify any connected automation. Visual inspection cannot confirm delivery.
- Publishing without a rollback option. Even a familiar update can fail because of caching, third-party changes, environment differences, or software conflicts. Keep a recent backup, revision, branch, or previous deployment available.
- Skipping production verification. Staging and preview do not always match the live environment. Open the production URL, repeat the critical journey, and monitor the website after publishing.
Final Website Pre-Publish Checklist
Use this condensed checklist immediately before approval.
Content and Design
- Requested copy is complete
- Names, prices, dates, and contact details are accurate
- No placeholder content remains
- One clear H1 is present
- Headings follow a logical order
- Images are clear and relevant
- Image crops work on mobile
- Buttons match the approved design
- Spacing and typography are consistent
- Shared components remain correct
Functionality
- Navigation links work
- Mobile menu works
- CTA buttons reach the correct destination
- Phone and email links work
- Forms validate and submit
- Notifications are received
- Thank-you pages load
- Downloads open
- Bookings complete
- Payments use the correct environment
- CRM and automation records are created
SEO and Technical Settings
- SEO title is correct
- Meta description is correct
- Canonical uses the production URL
- Robots settings are intentional
- Redirects work
- Internal links are relevant
- XML sitemap can include the page
- Structured data matches visible content
- Open Graph image is correct
- No staging URLs remain
Responsive and Accessibility
- Desktop layout works
- Tablet layout works
- Mobile layout works
- No horizontal scrolling appears
- Content remains readable when enlarged
- Keyboard navigation works
- Focus is visible
- Forms have labels
- Images have suitable alt text
- Contrast remains readable
- Popups can be closed
Publishing and Recovery
- Correct domain is selected
- Unrelated work is not included
- Approval is recorded
- Backup or rollback is available
- Person responsible for live verification is identified
- Monitoring access is available
If this checklist reveals several recurring issues, review available website services or compare support pricing before publishing a high-risk update without technical help.
What to Do After Publishing
The work is not finished when the platform reports that the update was published.
Verify the Production Website
Open the exact live URL in a private browser window.
Confirm that:
- The update appears
- The correct version is live
- The page returns normally
- Images and styles load
- Forms submit
- Notifications arrive
- Navigation works
- Mobile layout remains correct
- Tracking records the action
- Production links use the live domain
Repeat the most important customer journey. For a form update, submit again on production. For a navigation update, click every changed menu link. For a checkout change, complete an approved live or controlled transaction test.
Monitor for Unexpected Effects
Review analytics, error logs, form submissions, customer reports, and uptime after a significant change.
Look for:
- Sudden traffic loss
- Increased errors
- Failed submissions
- Missing conversions
- Broken API requests
- Layout regressions
- Slower performance
- Unexpected redirects
Also check pages sharing the updated template, component, plugin, or code.
Roll Back When Necessary
Do not continue applying random fixes to a broken production website when a safe rollback is available.
Roll back when the update causes a serious problem with:
- Payments
- Lead forms
- Customer accounts
- Navigation
- Security
- Core content
- Production APIs
- Website availability
Restore the previous stable version, document the failure, reproduce it in staging, and correct the cause before republishing.
When you need an independent review, contact Xander with the website URL, screenshots, requested update, and the result you expected. You can also learn about the studio and its approach to website updates, testing, development, SEO, and technical support.
Related Articles
Let’s make your website clearer, stronger, and easier to manage.
Whether you need small updates, better page structure, cleaner content, SEO improvements, or technical help, Xander Web Studio can help you improve your site with practical support.
Frequently Asked Questions
What is a website pre-publish checklist?
A website pre-publish checklist is a structured review completed before a website change becomes publicly available. It covers content, design, responsive layouts, links, forms, SEO settings, performance, accessibility, security, tracking, and publishing configuration.
It reduces the risk of broken pages, failed forms, mobile problems, incorrect information, and accidental indexing changes.
Should every website update be tested in staging?
Small text corrections may not require staging, but higher-risk work usually does.
Use staging or a preview environment for code changes, plugin updates, template changes, navigation work, form replacements, checkout changes, new integrations, database work, and large design revisions.
Even when a small change is published directly, preview it first and verify the live result afterward.
What should I test after changing website content?
Check the accuracy of the new content, the surrounding page, desktop and mobile layouts, headings, links, buttons, images, SEO fields, and any shared template or component.
If the update changes a CTA, form, booking link, price, service, or navigation item, test the complete customer journey rather than only reading the updated text.
How do I know whether a website form is working?
Submit the form using valid test information and confirm every expected result.
The visitor should see a clear confirmation. The business should receive the notification. The submission should appear in the CMS, form platform, or CRM when applicable. Any customer email, automation, booking, or thank-you-page tracking should also work.
A success message alone does not prove that the lead reached the intended recipient.
What is the most important check after publishing?
The most important step is production verification. Open the live website and repeat the critical action that the update affects.
Confirm that the correct version is live, related pages still work, mobile layouts remain usable, forms or payments complete, and tracking records the result. Keep the rollback option available until the update has been verified.
For ongoing review and publishing assistance, visit Xander Web Studio and request help before a high-risk website update goes live.